The Basics of Nail Buffers
What is a Nail Buffer?
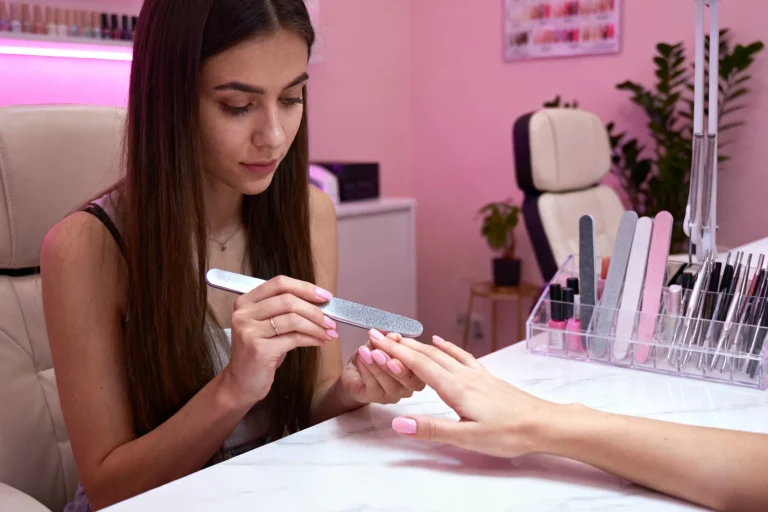
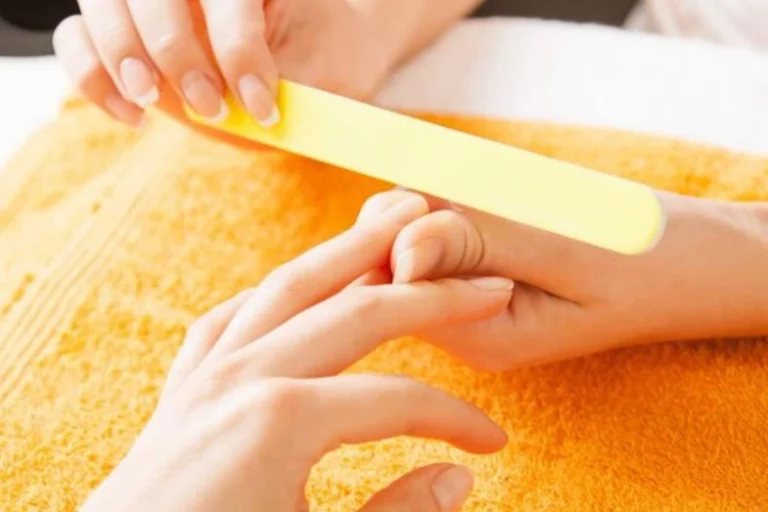
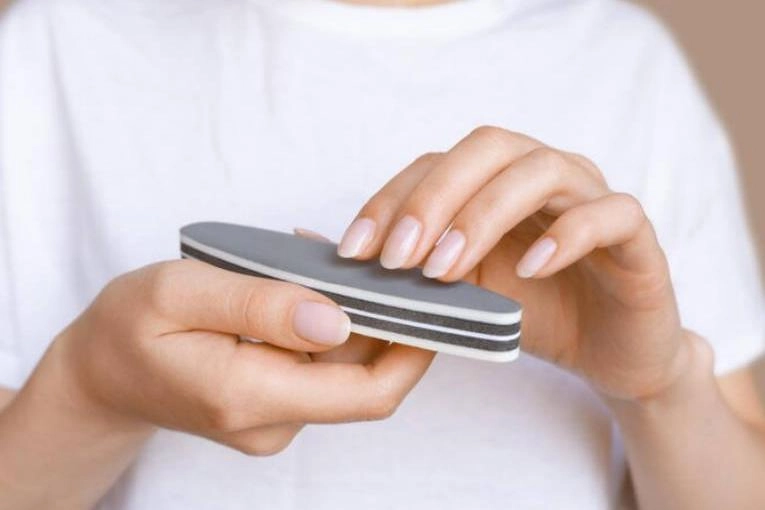
A nail buffer is a crucial tool in nail care and manicures, aimed at smoothing and shining the surface of the nails. In contrast to nail files that shape the edges of your nails, nail buffers make sure that the nail plate is level and free from ridges. Crafted from various materials, such as fine grit surfaces and soft buffer for nails, they aid in achieving healthy-looking nails by polishing them to a natural shine without the necessity for polish.
Importance of Using Nail Buffers in Manicures
Alright, let’s talk about the magic of nail buffers! These babies are the key to achieving nails that are polished and on point. Say goodbye to imperfections and ridges because buffing is here to save the day! It’s like a makeover for your nails, making them look healthy and fabulous. But wait, there’s more! Buffing also gets that blood circulation going in your nail bed, giving your nails a boost in growth. It’s like a little workout for your fingertips! And here’s the cherry on top – when you buff your nails, you’re creating a smooth canvas for that nail polish. That means your polish will last longer and shine brighter than ever before. So, get ready to buff, buff, and buff your way to nail perfection!

How Nail Buffers Differ From Nail Files
While both tools are key in nail maintenance, a nail buffer and a nail file serve different purposes. A nail file is used primarily to shape and smooth the edges of the nails, preventing splits and breaks. On the other hand, a nail buffer is used to create a smooth and glossy finish on the surface of the nail plate. While both tools can help improve the look and health of nails, using them correctly adds a professional touch to home manicures.
Types of Nail Buffers
Sanding Block Buffers
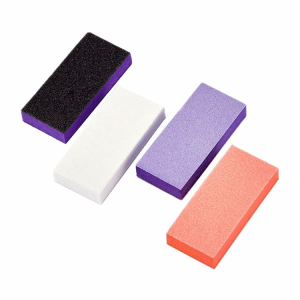
Sanding block buffers are a popular type of nail buffer that resembles small rectangular sponges coated with various grits. They are versatile and particularly useful for smoothing out ridges and rough spots on the nail surface. Their grit ranges from coarse to fine, allowing you to choose the appropriate level of abrasiveness for your nails.
Characteristics of Sanding Block Buffers
Sanding blocks come in different textures, with each side usually providing distinct levels of coarseness. This design allows for addressing multiple nail care needs, from the initial smoothing to the final polishing stages. They are easy to grip and maneuver, making them ideal for both novices and seasoned users.
When to Use Sanding Block Buffers
Sanding block buffers are ideal for those dealing with ridged or uneven nails. They can be used at the beginning of a manicure to create a smooth base for nail polish application or used alone for a naturally glossy finish. They are also excellent for buffing artificial nails to smooth out their surface.
Chamois Buffers
Chamois nail buffers are a unique type of nail buffer typically made from soft leather material attached to a solid handle. This type of buffer is primarily used with buffing creams or pastes to achieve a high shine on the nails.
Features of Chamois Buffers
One of the standout features of chamois buffers is their ability to polish nails without damaging the nail plate. Unlike abrasive buffers, they use a gentle, stroking motion to add shine and smoothness. Their ergonomic handle design ensures comfortable use, even during extended manicure sessions.
Benefits of Using Chamois Buffers
The main advantage of chamois buffers lies in their gentle nature when it comes to nail care. Unlike other tools, they do not erode the nail surface, making them ideal for frequent buffing sessions. Moreover, they can produce a durable, high-shine finish that may eliminate the necessity for clear nail polish. They are particularly useful for individuals with sensitive or fragile nails, offering a delicate yet effective method to maintain nail health.
Four-Way Buffing Blocks
Four-way buffing blocks are multifunctional nail care tools that encompass four different treatments in one block. Each side serves a distinct purpose, ranging from filing and smoothing to shining the nail surface.
Components of a Four-Way Buffing Block
A typical four-way buffing block contains four sides, each with a different grit level. These sides include a coarse side for filing, a medium side for smoothing ridges, a finer side for polishing, and a fourth side designed to provide a high-shine finish. The color-coded sides make it easy to follow a step-by-step buffing process.
Steps to Use a Four-Way Buffing Block Effectively
To use a four-way buffing block, start with the coarsest side to even out the nail edges and shape the nail. Next, use the medium grit side to smooth over the surface, ridding the nail of any major ridges or imperfections. Follow this by using the finer grit to polish the nail and prepare it for the final step. Finally, employ the side designed for shining to give the nail a glossy, healthy-looking finish. This step-by-step process ensures that your nails receive comprehensive care, resulting in an impeccably smooth and shiny appearance.
By comprehending and employing the various types of nail buffers, you can attain salon-quality outcomes in the comfort of your home. Each kind, be it sanding block, chamois, or four-way buffing block, provides distinct advantages that address different nail care requirements. Integrating these tools into your manicure regimen will guarantee that your nails remain smooth, shiny, and well-cared for.
Techniques for Optimal Results with Nail Buffers
Preparing Your Nails Before Buffering
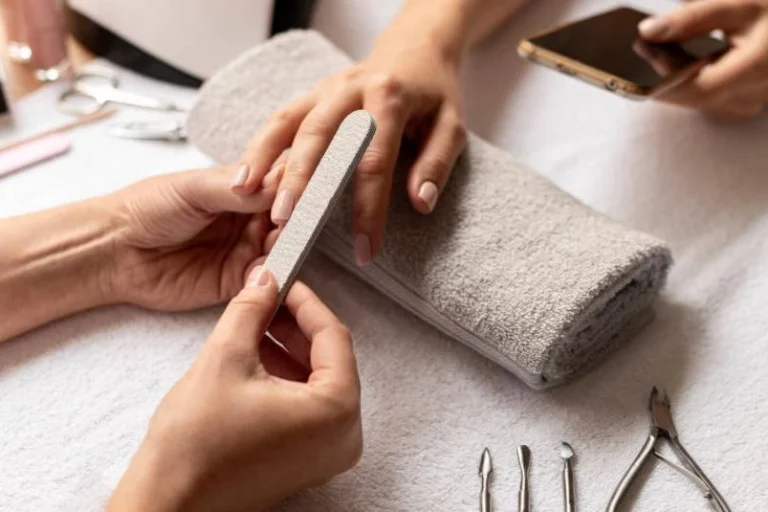
Before you begin the buffering process, it’s crucial to prepare your nails properly to achieve the best results. Start by cleaning your nails thoroughly to remove any dirt, oils, or remnants of old nail polish. Using a gentle nail brush and mild soap can ensure your nails are completely clean. Next, trim and shape your nails using a nail clipper and file to get your desired nail shape. Soaking your hands in warm, soapy water for a few minutes can soften the cuticles and nails, making them easier to work with. Gently push back the cuticles using a cuticle stick to reveal a larger nail surface for buffing.
Correct Buffering Technique
Direction and Pressure Application
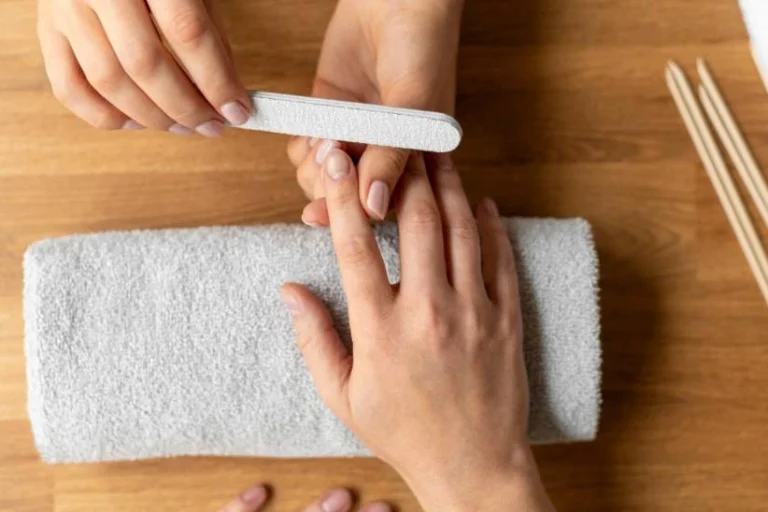
When using a nail buffer, the direction and pressure you apply are critical for optimal results. Always buffer your nails in one direction, avoiding a back-and-forth motion which can be too abrasive and lead to splits or cracks. Light, even strokes ensure that the nail surface remains smooth and polished without causing damage. Apply gentle pressure while buffing; too much force can thin the nail plate and make it more susceptible to breaking. The goal is to level out ridges and create a glossy finish without over-buffing.
Timing and Frequency of Buffering
The frequency of using a nail buffer depends on your nail type and health. For most individuals, buffing once every two weeks is sufficient to maintain smooth and shiny nails. Over-buffing can weaken the nails, making them prone to damage. It’s important to allow your nails some time to recover between buffing sessions. If your nails are particularly fragile or thin, consider restricting the use of a buffer to once a month. Monitoring how your nails respond to buffing will help you determine an appropriate schedule.
Finishing Touches After Buffering
Once you have achieved a smooth and polished look using your nail buffer, it’s time to add finishing touches to complete your manicure. Begin by washing your hands to remove any residue left from the buffing process. Next, apply a nourishing gel polish to hydrate and protect your cuticles, followed by moisturizing your hands with a quality hand cream. For added shine and protection, you might choose to apply a clear topcoat to your nails. This step can help to extend the smooth, glossy finish you’ve achieved with your buffer. Completing these final steps ensures your nails remain healthy and maintained.
Choosing the Right Nail Buffer for Your Needs
Factors to Consider When Selecting a Nail Buffer
Nail Condition and Type
Your nail condition and type are significant factors in choosing the appropriate nail buffer. For those with weak or brittle nails, select buffers with finer grits that provide a gentler touch. If you have healthy, robust nails, a nail buffer with multiple grit levels can cater to various stages of the buffing process. Consider any specific nail issues such as ridges, thinness, or discoloration when choosing a buffer to ensure it addresses your particular needs effectively.
Desired Final Look and Finish
The final look and finish you desire also influence the type of nail buffer you should use. If you aim for a high-shine, glossy finish, a chamois buffer combined with buffing cream would be ideal. For a smooth, matte appearance, a sanding block buffer might be more suitable. Determine whether you prefer a minimal, natural look or a more polished, salon-quality shine to select the nail buffer that best accommodates your preferences.
Recommended Products for Different Requirements
Different buffers serve various needs, and choosing the right one can significantly improve your manicure routine. For those dealing with pronounced ridges and uneven nail surfaces, a four-way buffing block can provide a comprehensive solution by addressing multiple stages of smoothing and shining. If you require a gentle touch due to sensitive or brittle nails, chamois buffers are highly recommended as they polish softly without causing damage. Sanding block buffers are versatile tools, ideal for those who need an all-in-one option for general nail maintenance, shaping, and shining. By selecting the appropriate nail buffer for your specific requirements, you can achieve consistently optimal results and maintain the health and appearance of your nails.
Common Mistakes to Avoid with Nail Buffers
When adding a nail buffer to your manicure routine, it’s essential to recognize common errors that might affect your results. Incorrect use of a nail buffer can cause unwanted effects, like nail damage and poor polishing. By being aware of these frequent mistakes, you can achieve a more efficient and safer manicure process.
Over-Buffing and Its Consequences
One of the primary mistakes is over-buffing the nails. Excessive use of a nail buffer can thin the nail plate, making your nails more prone to breakage and splitting. Over-buffing also strips away essential oils from the nails, leading to increased brittleness and dryness. To avoid this, limit your buffing sessions to recommended intervals and use gentle strokes while buffing. Pay attention to how your nails respond to the process; if you notice thinning or increased fragility, it’s best to reduce the frequency of buffing.
Using the Wrong Type of Buffer for Your Nails
Another common error is using the incorrect type of nail buffer for your specific nail needs. Each type of buffer is designed for a particular purpose, and using the wrong one can cause more harm than good. For instance, using a coarse buffer on weak or thin nails can lead to nail damage, while a very fine grit buffer might not effectively address ridges on tougher nails. Carefully select a buffer that matches your nail type and current condition to ensure safe and effective nail care.
Maintaining Your Nail Buffers
Proper maintenance of your nail buffer is essential to prolong its lifespan and ensure hygienic use. Regular cleaning and correct storage practices can prevent wear and tear, ensuring your buffer remains effective for numerous manicure sessions.
Cleaning and Storage Tips
After each use, make sure to clean your nail buffer to remove any debris and minimize the accumulation of oils and skin cells. For sanding block buffers, using a brush can help in clearing out accumulated dust and particles. Chamois buffers can be wiped with a slightly damp cloth, while four-way buffing blocks may need to be cleaned with a gentle disinfectant. It is important to store your buffers in a dry, clean place to prevent them from absorbing moisture, which can degrade their materials over time. Keeping them in a protective case or pouch also helps maintain their shape and texture, ensuring they are always ready for use.
When to Replace Your Nail Buffer
Alright, folks, let’s talk about when it’s time to say goodbye to your trusty nail buffer. We all know that nothing lasts forever, not even the magical powers of a nail buffer. Over time, these little heroes lose their grit and start to lose their effectiveness. It’s like they’re running out of steam, poor things! So, how do you know when it’s time to bid farewell? Well, keep an eye out for some telltale signs. If your buffer is looking worn out, like it’s been through a war, it’s probably time to let it retire. And if you notice a loss of texture or a decrease in performance, it’s like a cry for help from your buffer. Don’t ignore it! Generally, it’s a good idea to replace your buffer every few months, depending on how often you use it. Trust me, using a worn-out buffer is like trying to run a marathon with one shoe – it’s just not gonna end well. So, be kind to your nails and give them the love they deserve by saying goodbye to that old, tired buffer and welcoming a fresh one into your nail care routine.
I have to highly recommend nail drill here, which can be used in nail salons, craft engraving. If you want to step up from using a proper nail file, then this would be the one for you! In addition to a wide range of nail files and customization services, FELICE also offers a wide range of nail repair tools, such as nail drills. As a professional nail art company, FELICE also welcome OEM and support customers’ own brand with small MOQ.

